The year was 2010 I thought about the pizza dough recipe. My friends and I, a bunch of wide-eyed college freshmen, were sprawled on the living room floor, movie night in full swing. The aroma of greasy goodness wafted from the cardboard box, our usual Friday night ritual: takeout pizza. But as I bit into that first slice, a wave of disappointment washed over me. The crust was flimsy, the cheese tasted vaguely artificial, and the whole experience felt…inauthentic. Disheartened, I thought, “There has to be a better way.”
That night ignited a passion within me, a quest to create the perfect pizza, a pizza that celebrated fresh ingredients, boasted a robust crust, and delivered an explosion of flavor with every bite. My journey led me down a path of experimentation, countless failed attempts (some truly inedible!), and finally, to the holy grail: homemade pizza dough.
This article is more than just a recipe; it’s a culmination of my pizza-making adventures, a roadmap to crafting the dough that forms the foundation of pizza perfection. We’ll delve into the science behind the rise, explore troubleshooting techniques for common dough dilemmas, and share secrets for achieving that elusive crispy yet chewy crust.
So, grab your rolling pin, dust off your apron, and let’s embark on this delicious odyssey together!
Recipe
Ingredients
- Flour: All-purpose flour (or bread flour for a chewier crust) is your champion here.
- Yeast: Active dry or instant yeast – the leavening agent that makes your dough rise.
- Water: Warm water (around 100-110°F) activates the yeast.
- Salt: Enhances flavor and strengthens the dough.
- Olive Oil: Adds a touch of richness.
How To Make Pizza Dough
Step 1: Activate the Yeast In a small bowl, combine the lukewarm water with the yeast. If using active dry yeast, let the mixture sit for 5-10 minutes until it becomes foamy. Instant yeast can be added directly to the flour without proofing.
Step 2: Mix the Dough In a large mixing bowl, combine the flour and salt. Create a well in the center of the flour mixture and pour in the activated yeast mixture. If desired, add olive oil and sugar at this stage for extra flavor and tenderness.
Using a wooden spoon or your hands, gradually incorporate the flour into the liquid, stirring until a shaggy dough forms. Avoid adding all the flour at once, as this can lead to a dense dough. Adjust the water or flour as needed to achieve the right consistency.
Step 3: Knead the Dough Once the dough comes together, transfer it to a lightly floured surface for kneading. Kneading develops gluten, giving the dough its elasticity and structure. Use the heel of your hand to push the dough away from you, then fold it back over itself and repeat. Continue kneading for 8-10 minutes until the dough is smooth, elastic, and slightly tacky to the touch.
Step 4: Let the Dough Rise Place the kneaded dough in a lightly oiled bowl, turning to coat it evenly with oil. Cover the bowl with plastic wrap or a clean kitchen towel and let the dough rise at room temperature for 1-2 hours, or until it has doubled in size. The length of the rise will depend on factors such as room temperature and yeast activity.
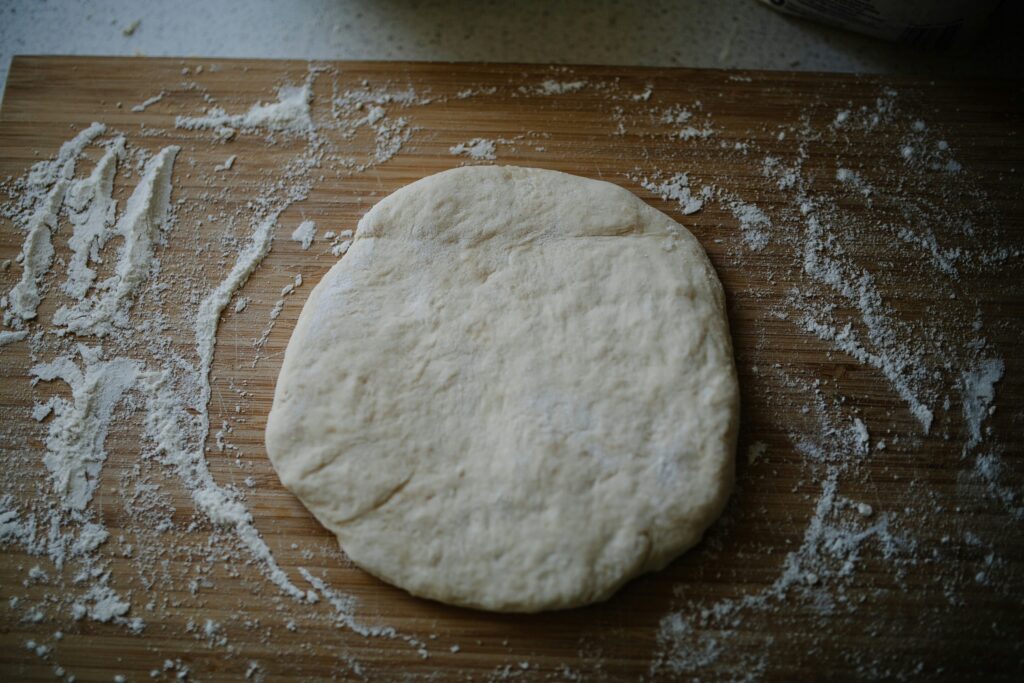
Step 5: Punch Down and Rest Once the dough has doubled in size, gently punch it down to release the trapped air bubbles. This step helps to redistribute the yeast and develop flavor. Divide the dough into individual portions, depending on the size of the pizzas you plan to make. Shape each portion into a ball and let them rest on a lightly floured surface, covered with a kitchen towel, for an additional 30 minutes. This rest allows the gluten to relax, making the dough easier to stretch.
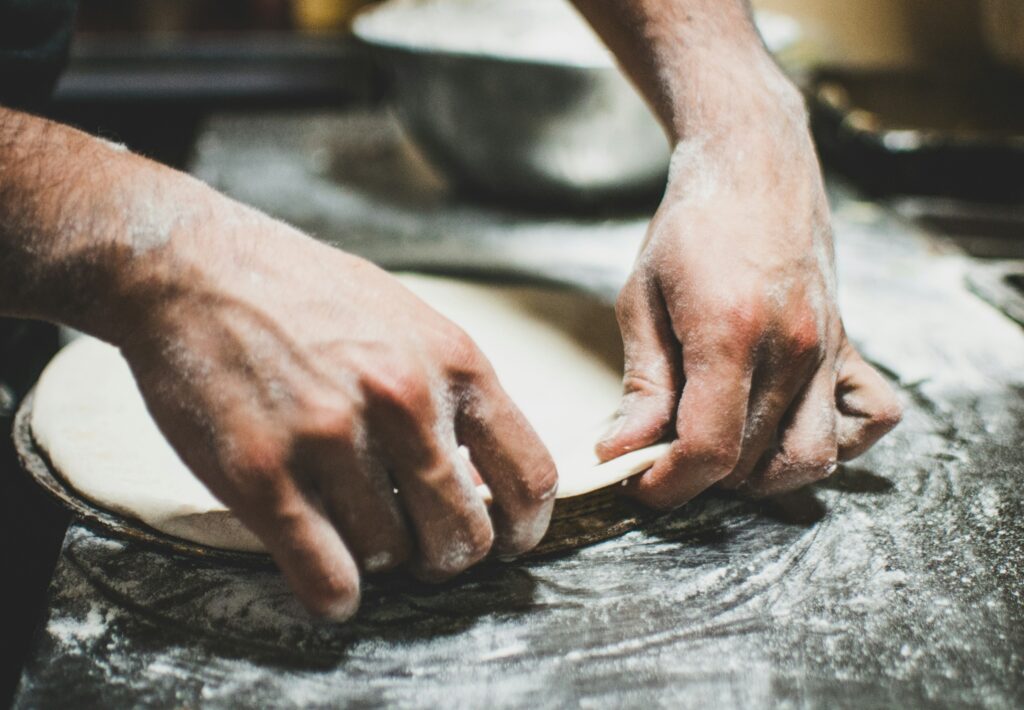
Step 6: Shape the Dough After the resting period, it’s time to shape the dough into pizza bases. Working with one dough ball at a time, gently stretch and shape the dough into a round or oval shape, using your hands or a rolling pin. For a traditional Neapolitan-style pizza, aim for a thin, even crust with a slightly thicker edge (cornicione).
Step 7: Bake and Enjoy Once shaped, transfer the pizza dough to a preheated pizza stone or baking sheet lined with parchment paper. Add your desired toppings, taking care not to overload the pizza, which can weigh down the crust. Bake in a hot oven (preferably 450-500°F or 230-260°C) for 10-15 minutes, or until the crust is golden brown and crisp, and the cheese is bubbly and melted.

Conquering Common Dough Challenges
- Dough Too Sticky: If your dough feels too sticky, gradually add more flour, a tablespoon at a time, until it reaches the desired consistency.
- Dough Too Dry: Conversely, if your dough is too dry and difficult to knead, add a small amount of water, a teaspoon at a time, until it becomes more manageable.
- Lack of Rise: Ensure that your yeast is fresh and active. If your dough fails to rise, it may be due to expired yeast or improper proofing conditions. Allow the dough more time to rise in a warm, draft-free environment.

Best Storage Method
Once you’ve prepared your pizza dough, you can store it for future use. Here’s the best way to store pizza dough:
- Portion the dough into individual balls according to your recipe.
- Lightly coat each dough ball with olive oil to prevent drying.
- Place the dough balls in an airtight container or resealable plastic bags, removing as much air as possible.
- Store the dough in the refrigerator for up to 2-3 days, or in the freezer for up to 1-2 months.
- When ready to use, allow the dough to thaw in the refrigerator overnight before bringing it to room temperature and shaping it for baking.
Success Tips
- Use high-quality ingredients, including flour, yeast, and olive oil, for the best flavor and texture.
- Allow the dough to ferment slowly for optimal flavor development. Longer fermentation times can result in a more complex and nuanced taste.
- Experiment with different flour blends and hydration levels to achieve your desired crust texture and flavor profile.
- Practice proper stretching and shaping techniques to avoid tearing or thin spots in the dough.
- Preheat your oven and baking surface (such as a pizza stone or steel) thoroughly to ensure a crispy crust and evenly cooked pizza.


